Credential stuffing attacks are becoming increasingly common. More people are reporting constant authentication notifications, one after another. Even when they deny them, the prompts keep coming. It feels relentless. For many, it becomes a flood of MFA requests that’s both disruptive and alarming. This isn’t limited to home users; attackers are targeting business accounts just as aggressively.
What is credential stuffing
Credential stuffing is an automated attack where bots use stolen username and password pairs, usually obtained from unrelated data breaches, to try to sign in to a user’s account without their consent. Attackers simply take these leaked credentials and test them across multiple services, hoping the victim reused the same password elsewhere.
How the attacker obtained the credentials varies depending on the service, but the pattern is the same, the bot attempts repeated logins using known combinations. When the password is correct, but the account is protected by two‑factor authentication, the attacker can’t get in, but the login attempt still triggers Multi-Factor Authentication (MFA) prompts for the legitimate user.
This attack is a variation of a brute force style approach, but instead of guessing random password combinations, the attacker uses real username and password pairs that have already been leaked from other sites or services. The bot simply cycles through these known combinations and tries them against the target account. Attackers rely on this method because they know many people reuse the same password across multiple platforms, so a breach on one site can quickly become an attack vector on another.
How does the attacker get the data
Attackers obtain usernames, passwords, and other personal information primarily through data breaches. A data breach occurs when an unauthorised individual gains access to a company’s database or system that stores customer information. Once inside, the attacker can extract large volumes of data, often millions of records at a time.
This stolen data is then packaged and sold on criminal marketplaces, where other attackers buy it for their own purposes. These datasets often include email addresses, passwords, phone numbers, and sometimes financial or identity information. Once your details are exposed, they can be misused in several ways, including:
- Launching targeted phishing attacks to trick you into giving away more information or money
- Attempting to break into your other accounts using the same password (credential stuffing)
- Using stored payment details to commit financial fraud
- Creating fake profiles or accounts in your name to carry out further criminal activity
This is a huge criminal industry that governments, law‑enforcement agencies, and technology companies are constantly trying to combat. But as technology evolves, so do the attackers’ methods. Once your data has been exposed in a breach and circulated online, it becomes almost impossible to remove. Copies of the same dataset are repeatedly shared, resold, merged with other leaks, and redistributed across criminal forums. Even if one marketplace is taken down, the data continues to spread among other cybercriminals, and new marketplaces quickly appear to replace the old ones.
This is why I would recommend checking “Have I Been Pwned”: https://haveibeenpwned.com/
This is a free service that allows you to check if your email address was leaked in a data breach. It will provide details on what data breach it was leaked in and what data was leaked. This information is presented in a timeline starting with the latest and working its way back.
This is a valuable service that allows you to see what breach your information was leaked in, along with what information they have obtained.
When you click onto view details, it lists wat data was compromised and gives you a data breach overview. It also provides you with recommended actions that you can use.
How does this attack work
Credential stuffing attacks rely entirely on automation. Attackers take large lists of stolen usernames and passwords, usually obtained from previous data breaches, and feed them into a bot. The bot also has a target list, which is a catalogue of websites and services it should attempt to sign into. These typically include major email providers, social media platforms, shopping sites, banks, gaming services, cloud platforms, and other popular websites with login pages. Because these are widely used services, there’s a higher chance the victim has an account there. Target lists often contain hundreds of sites, and the bot simply cycles through them automatically.
Once the bot has your details, it begins testing your email and password combination across each site on the list. If a site responds with something equivalent to “this account doesn’t exist”, the bot drops that username for that site and moves on. Over time, the bot naturally filters out the sites where you don’t have an account, leaving only the ones where your username is valid.
For the sites where your account does exist, the bot then tests the passwords it has for you. If the password is incorrect, it moves on to the next one in its list. If none of the password’s work, the bot simply abandons that username for that site and moves on to the next victim in its dataset. It doesn’t waste time guessing, that would be brute force, not credential stuffing.
However, if the password does match, the bot immediately escalates its attack. Even though it cannot get into the account without multi‑factor authentication (MFA), the login attempt still triggers an MFA prompt on the real user’s device. At this point, the bot repeatedly attempts to sign in using the same valid credentials, causing a flood of MFA notifications. This is the moment users suddenly receive dozens of prompts and often panic, believing their account has already been hacked.
Once the bot discovers a valid username and password, the attacker’s goal becomes very simple, get you to approve just one MFA request. They know they can’t get into your account without that approval, so they rely on overwhelming you with constant notifications. The attacker is hoping you will eventually tap “Approve” out of frustration, confusion, or the belief that the prompt is legitimate. If you approve even once, the attacker’s device receives a valid authentication token, allowing them to sign in as you, often without needing your password or MFA again for a long period of time.
How the attacker’s bot behaves (from a programming perspective)
This section is for educational use only. It explains how the attack works so you can recognise it and protect yourself, not so anyone can recreate it.
The following pseudocode shows a simplified version of how a credential stuffing bot typically operates. It isn’t real code, just an outline of the logic these automated attacks follow.
while bot_is_running:
for each credential in combo_list:
# Stolen email + password pair from the breach dataset
email = credential.email
password = credential.password
# Loop through the list of websites the attacker wants to test
for each site in target_list:
response = attempt_login(site, email, password)
# Skip this site if the account doesn't exist here
if response == ACCOUNT_NOT_FOUND:
continue
# Skip to the next password if this one is incorrect
if response == PASSWORD_INCORRECT:
continue
# Trigger MFA fatigue if the password is correct but MFA blocks access
if response == MFA_REQUIRED:
spam_mfa(site, email, password)
continue
# If login succeeds, the attacker now has access to the account
if response == LOGIN_SUCCESS:
harvest_account(site, email)
continue
This isn’t an Artificial Intelligence (AI) system making decisions. It’s just a simple automated program. It loops through stolen data, follows basic “if this, then that” logic, and keeps running until it finds a password that works. There’s no thinking involved, only automation.
The attacker first imports the stolen user data into their program, along with a list of websites the bot should test. These are stored in arrays, which allow large lists of information to be grouped under a single variable. You can think of an array like a box full of items the program can pick from one by one.
Once the program starts running, it immediately enters a for each loop that cycles through every stolen credential in the list. Inside this loop, the bot uses a series of conditional statements to decide what to do next based on the website’s response.
The first conditional statement checks whether the email address exists on the website’s database. If the user doesn’t have an account there, the site returns an “account not found” error. The bot reads this response and simply moves on to the next site in the target list. It doesn’t retry or guess, it just skips ahead.
The next conditional statement checks whether the password is incorrect. If it is, the bot moves on to the next password it has for that email address. It keeps looping through the passwords in the dataset until it either finds a match or runs out of options.
The next conditional statement checks whether MFA has been triggered. If it has, the bot now knows the email and password combination is correct. At this point, it calls another function that repeatedly attempts to log in using the same credentials, which triggers a flood of MFA prompts on the victim’s phone. The attacker is hoping the user will eventually tap “Approve” by mistake.
The final conditional statement checks whether the login was successful. If it is, the bot now knows it has valid credentials for that account. It stores this information in a new array so the attacker can use it later, for example, to take over the account, steal data, or sell the credentials to other criminals. The bot then moves onto the next target.
In simple terms, the bot is just following a set of “if this happens, do that” rules, looping through stolen data until it finds a combination that works. Attackers often build these bots as simple Python scripts because Python makes automation easy and has libraries for handling web requests.
What happens if the attacker gains access to the account
During an MFA‑fatigue attack, many victims don’t realise they’ve granted access. When dozens of prompts appear, people often assume it’s a glitch or a legitimate request from one of their devices. Some tap “Approve” just to stop the notifications. But that single approval gives the attacker a valid authentication token on their own device, allowing them to sign in as you without needing your password or MFA again.
Once the attacker gains access to your account, they may do one or more of the following:
- Replace your security details with theirs and hijack your account – They add their own email, phone number, or authenticator app, then remove yours. This locks you out completely and gives them long‑term control.
- Export your personal information – This can include bank details, saved cards, messages, photos, documents, and anything stored in the account. This data can be used for fraud or identity theft.
- Use your account to send phishing emails – Attackers often send malicious emails from a trusted account because recipients are more likely to open them. This spreads the attack to your contacts.
- Lock you out and demand payment to get your account back – Some attackers hold accounts hostage, especially gaming, email, or social media accounts, and demand money for access.
- Delete your files or threaten to publish them – Attackers may wipe your data or use sensitive information to blackmail you, threatening to leak it unless you pay.
- Sell your personal information to other cybercriminals – Stolen data is valuable. Attackers often package and sell it on criminal marketplaces for others to exploit.
- Sell your valid login credentials – If your account has value (such: as gaming purchases, subscriptions, or stored payment methods) attackers may sell the login details to someone else.
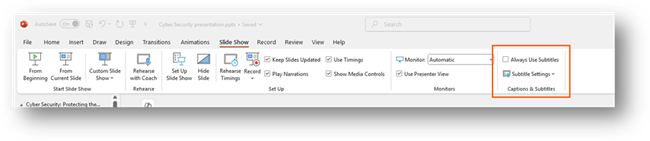
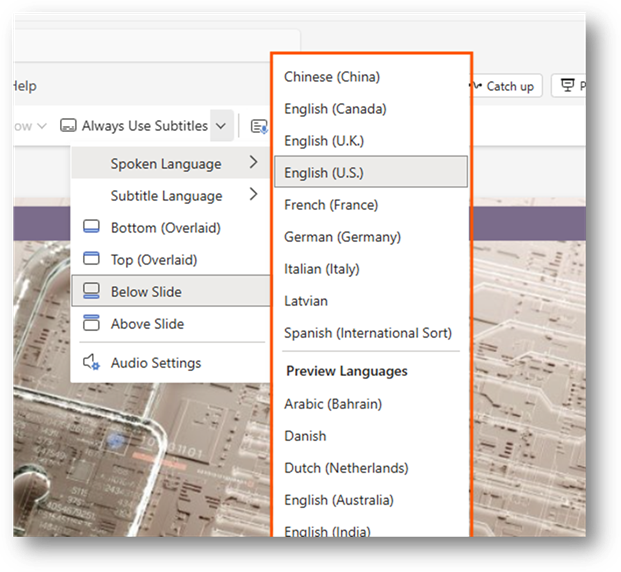
How to reduce or stop this attack from happening
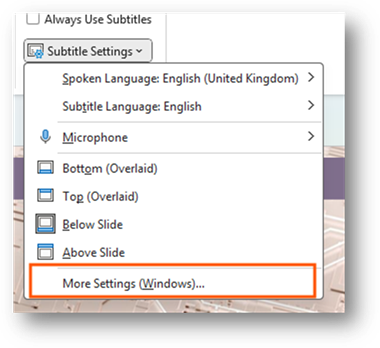
When you start receiving unexpected Microsoft Authenticator prompts, the first thing you should do is deny every request. Never approve an MFA prompt you didn’t initiate.
Next, go to your Microsoft account security page: Additional security options | Microsoft Account overview
Changing your account password
The first thing to do is change your password to something completely different from anything you’ve used before.
While changing your password won’t stop the bot from continuing to try signing in, it does prevent the attacker from logging in manually if they already know your old password.
Keep Multifactor Authentication enabled & check security information
Do not turn off MFA. It is the only thing preventing the attacker from getting in.
While on the same page, check that your security information is up to date. Remove any old or unused methods such as:
- old email addresses
- old phone numbers
- old security keys
Generate a new Microsoft account recovery code (personal Microsoft accounts)
On a personal Microsoft account, you have the option to generate a recovery code to use for your account to use if you no longer have access to your security information and recovery methods.
On the security page, please scroll down to the bottom of the page.
Once at the bottom, please select “Generate a new code”
You will want to keep this in a safe place. If you do get hacked, you can use this code to recover your Microsoft account. Once you generate a new code, the previous code will no longer work.
Changing the primary alias for the Microsoft account
One effective way to stop the MFA spam is to change your primary alias which is the email address you use to sign in.
This works because the automated bot continues trying the old email address. When the bot attempts to sign in, Microsoft returns an error saying the account doesn’t exist. The bot then drops your email and moves on to the next target.
Changing your primary alias does not delete your mailbox or emails. It only changes the address you use to sign in.
To change this on Microsoft personal accounts, please sign into your Microsoft account here: https://account.live.com/names/manage
Once you have signed into your account, you can add an email address to use when signing into your Microsoft account. You can then click onto the link to change sign in preferences.
Then select the new email you have added and de-select the previous email. Do not remove the email though, leave it on your account.
Preventing this attack from starting
A common question people ask is:
“Why can’t you just stop these attacks from happening in the first place”.
Unfortunately, in the digital world we live in today, our data is stored online across countless services. We use multiple websites every day for work, communication, entertainment, and shopping. While companies work tirelessly to prevent these attacks, and there is always more that can be done, we will never eliminate them completely.
Cyber criminals constantly look for new ways to bypass protections. As technology improves, so do their methods. We’ve already seen phishing attacks become more sophisticated, and new account takeover techniques appear regularly. The only way to stay ahead is to keep informed about the latest threats and understand how to protect your accounts.
So how do you stay up to date?
One resource I use frequently is the National Cyber Security Centre (NCSC): NCSC news | National Cyber Security Centre
The NCSC is a UK government organisation that publishes news, alerts, and statistics about cyber security. Keeping up with their updates helps you understand emerging threats and think proactively about your own account security.
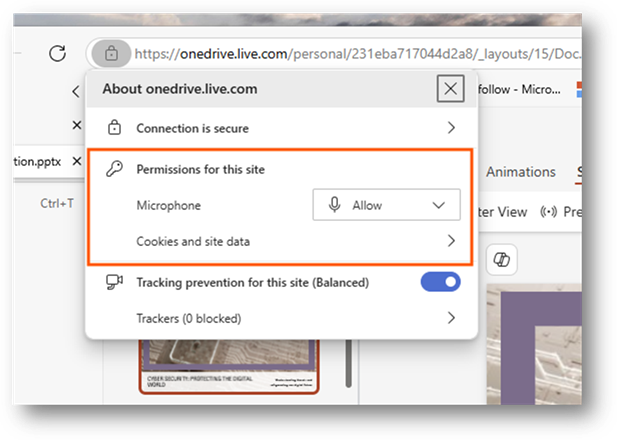
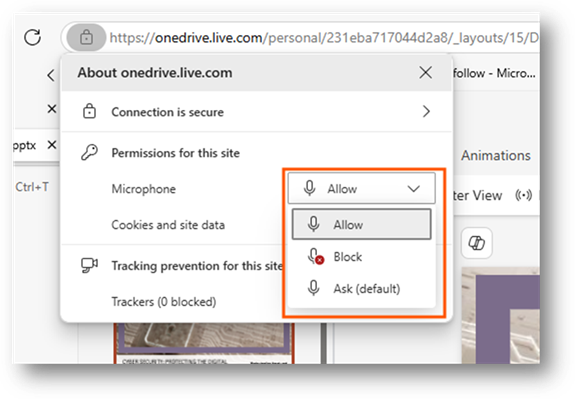
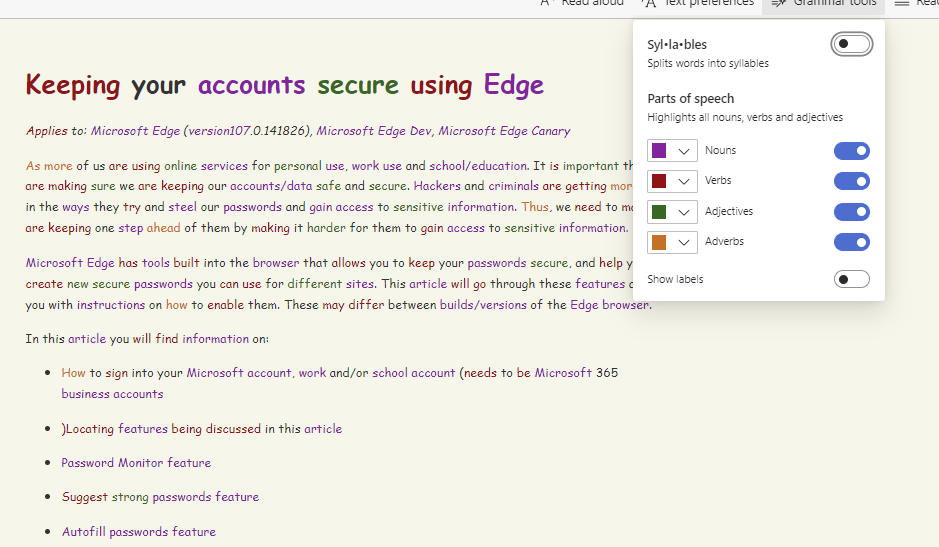
You may also find this helpful: Keeping your accounts secure using Edge
The more we educate ourselves on the different methods we have for keeping our accounts safe, the more we can reduce our likelihood of being subjected to attacks.