Microsoft PowerPoint allows you to use subtitles when you are presenting your presentation. This setting is powered by Microsoft’s speech service. You can translate what you are saying into another language. This article will walk you through how to start using subtitles in PowerPoint online and the desktop app.
Before you enable this feature, you must have a microphone connected to the computer.
Subtitles in Microsoft PowerPoint desktop
In the desktop app there seems to be more options with how the text is displayed compared to the online version. The desktop app allows you to use the Windows settings to customize the font and the font size.
Activating this feature
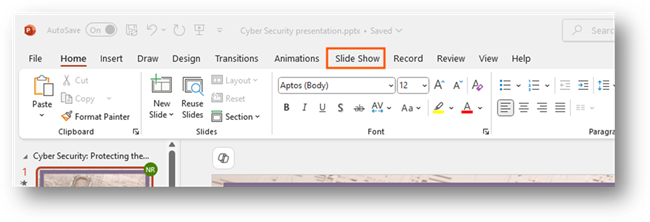
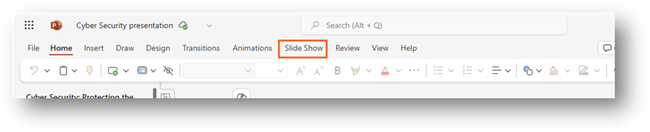
When you open your presentation, you will want to go to the tab Slide Show on your ribbon.
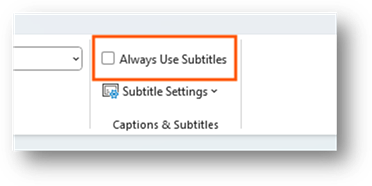
You will see options for your slide show that you can customize. You want to go to the section Captions & Subtitles on the far-right side.
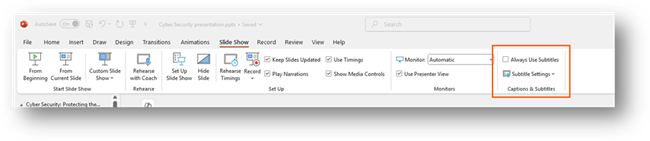
You will be able to see a check box that says, “Always Use Subtitles” and an option under that that says, “Subtitle Settings”. To enable the subtitles for the presentation, you can tick this box.
Once you have ticked this option, it will save it. So, when you go to present, it will display subtitles on your presentation when you speak. To turn off this feature, you will need to untick this box.
Subtitle settings
You can customize the settings for the subtitles. This allows you to do things like change the language or change where they are displayed when presenting. It is a way for you to adjust the settings for your audience.
The settings option is found directly under the option to always use subtitles.
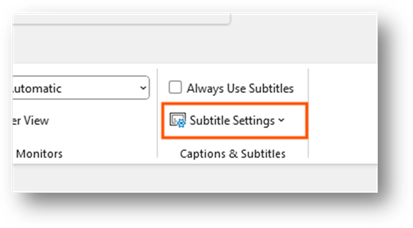
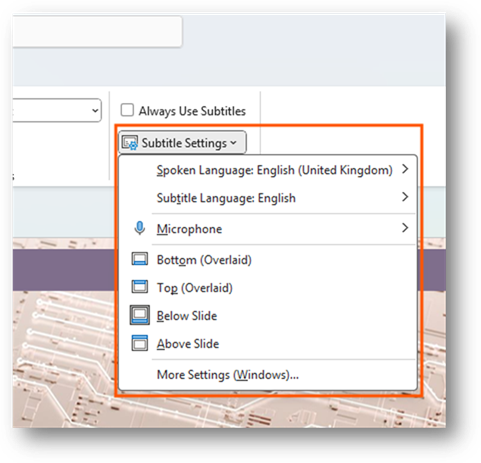
When you click onto this option, it will display a drop-down menu that displays a list of options.
Changing the language, you are speaking
You can choose the language you are speaking in PowerPoint. To do this, you want to click onto the option “Spoken Language: …”.
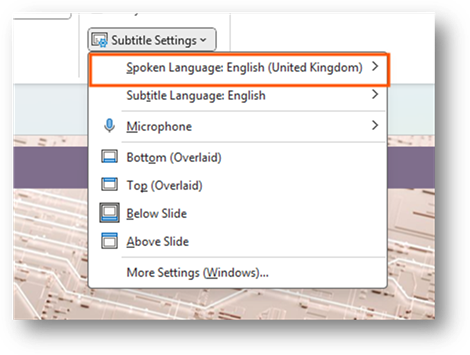
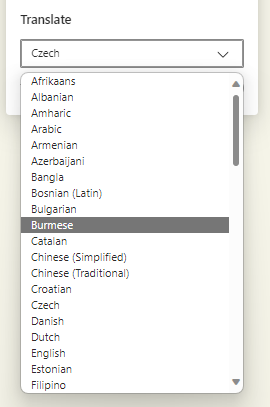
When you click onto this, it will display a list of languages you can choose from.
While there may be a language that isn’t there, Microsoft may choose to add this language in the future. Once you have found a language, please click on it to choose it. The menu will close.
By default, it will be set to the default language that is set in Microsoft 365. The preview languages are being tested. This means that they may not work as expected.
Changing language displayed
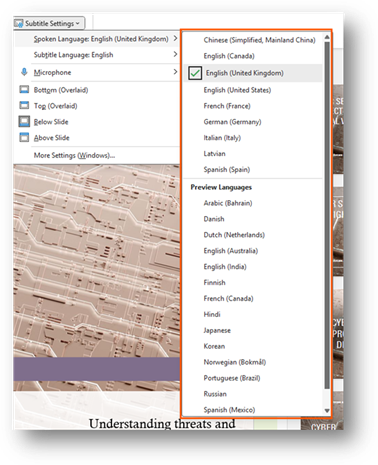
You can change the language the subtitles will be displayed in. By default, they will be set to your default language. To change the language, you will need to click onto the option, “Subtitle Language: …”

When you click onto this option, you it will display a list of languages you can choose from.
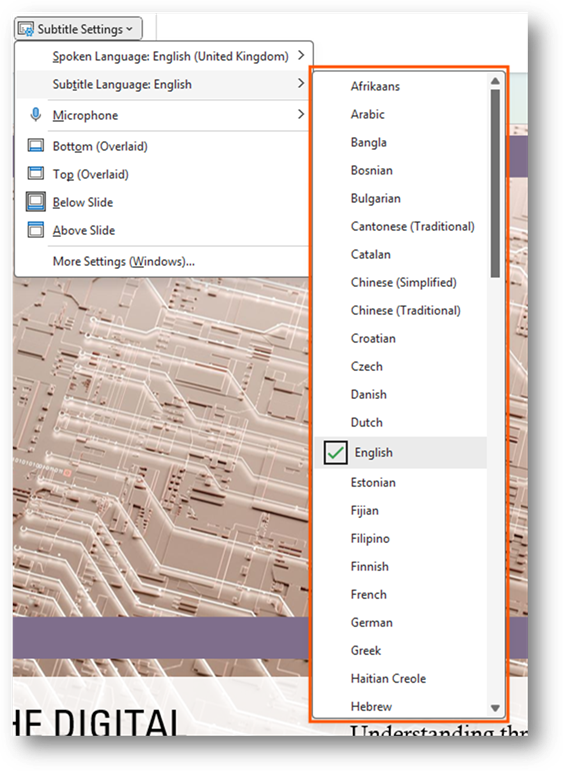
Once you have found the language you are wanting to choose. Please click onto the language to select it. This will close the menu for you.
Position of text
You can choose where the subtitle will display on the presentation. This option can be found under the microphone setting.
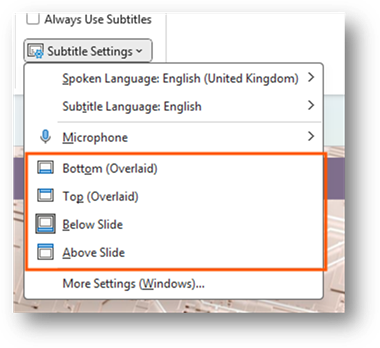
You have four options to choose from. By default, it will display the subtitles at the bottom with an overlay. Once you select an option, the menu will close and save the option.
More windows settings
There are more settings that are built into Windows 11. You can access these settings by clicking onto the more settings option at the bottom of the menu.
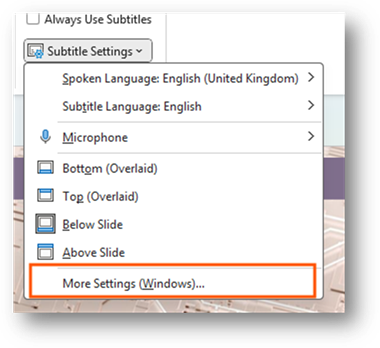
The more settings option will open the Settings app for Windows where you can see settings for live captions on Windows.
You will be able to adjust the style of the caption when displayed. This can be what colour the overlay is and what font and what the font size is. These are all located in the caption style option on the settings page.
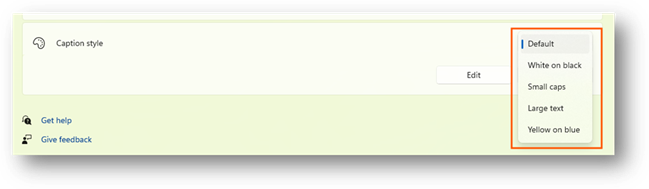
When you click onto the default option, it will list other options that you can choose from.
The options it provides you will be in a list.
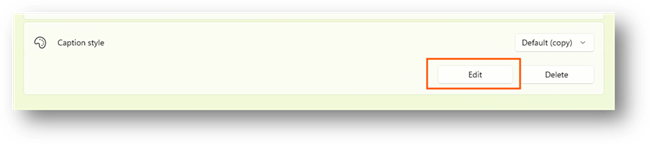
Once you click onto the option you want, the list will close, and the option will be applied on all apps in Windows. You can edit the style by clicking onto the edit option.
This will open the style options where you can customize the text and background colour the text is put on.
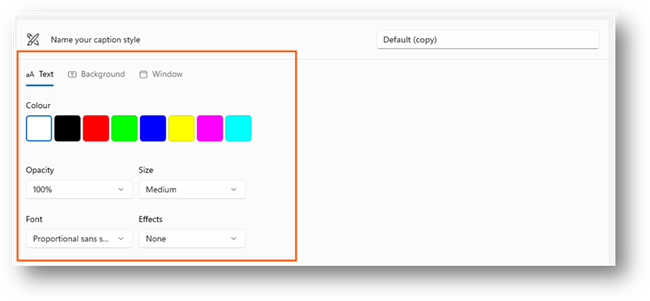
Once you change anything, it will automatically apply these settings to the style. If the style is selected, it will display the changes throughout Windows. Once you have finished, close the Settings app, and navigate back to your PowerPoint presentation.
Subtitles in Microsoft PowerPoint online
If you are using the online version of PowerPoint, you do have the option to enable subtitles over your presentation. You will notice that there aren’t many options compared to the desktop version of PowerPoint.
Activating this feature
When you have opened your PowerPoint on a web browser, please navigate to Slide Show on the ribbon.
When you have selected the slide show option, you will see the options for the presentation when it is presentation mode.

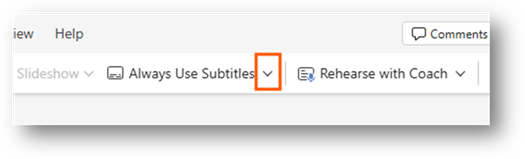
Along the menu bar, you will see an option called “Always Use Subtitles”

To enable subtitles, you must click onto the option which will highlight the button to show this is enabled.

Once enabled, you will be able to start your presentation. When you start speaking, the subtitles will appear on your screen. To disable subtitles, just click onto the button again. This will return the colour of the button back to white and will disable the subtitles on your presentation.
Enabling your microphone
By default, the browser will block the web app/web page from accessing hardware on your PC. This will include hardware such as your microphone and camera. This means you must enable the web app/website to access your microphone.
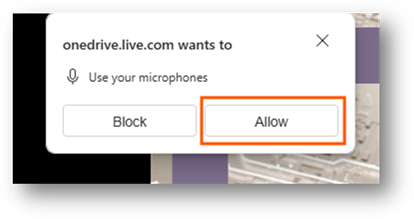
When you connect your microphone to the computer or go to present, it should request access to your microphone.
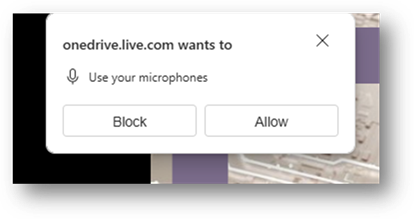
If this request appears, please click onto allow
What happens if I don’t get a request from the website/web app?
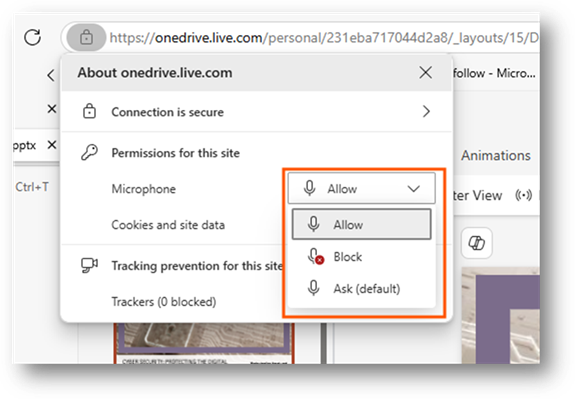
If this doesn’t appear, please click onto the padlock icon on your address bar at the left-hand side of the URL.
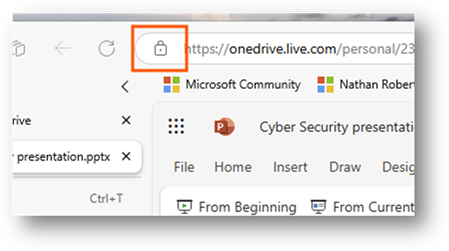
This will produce a drop-down menu showing information about the site. One of the options will be permissions for the site.
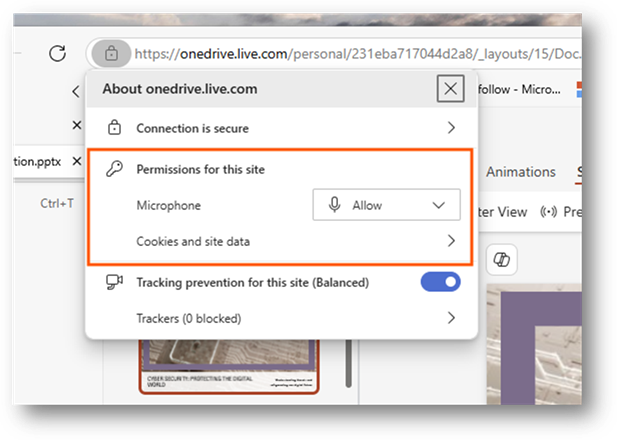
Please make sure that the microphone is set to allow. If it is blocked, please click onto the drop-down option for the microphone and change it to allow.
Once this setting has been changed, please refresh the site by pressing F5 on your keyboard or the refresh button on your web browser.
Subtitle settings
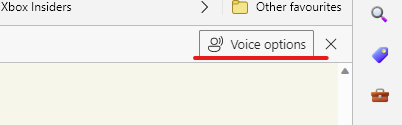
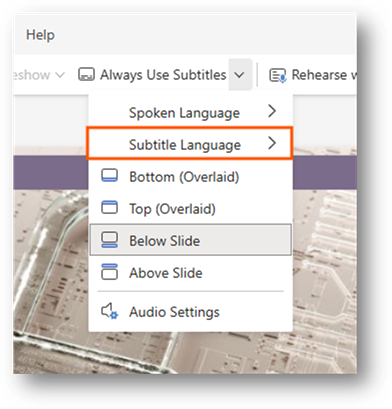
To access the subtitle settings, you will need to click onto the arrow pointing down on the right-hand side of the option to enable subtitles.
Once you click onto this button, the setting will display on a drop-down menu.
Changing the language, you are speaking
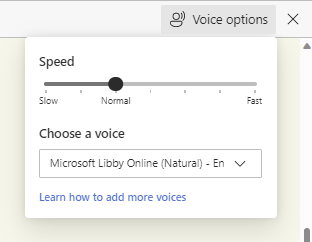
You can change the language you are speaking in PowerPoint. To do this, please click onto the setting called “Spoken language”.
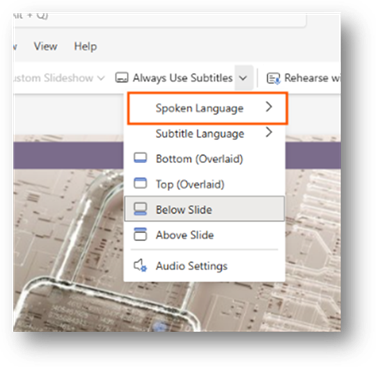
This will expand a drop-down menu at the right-hand side showing a list of languages to choose from.
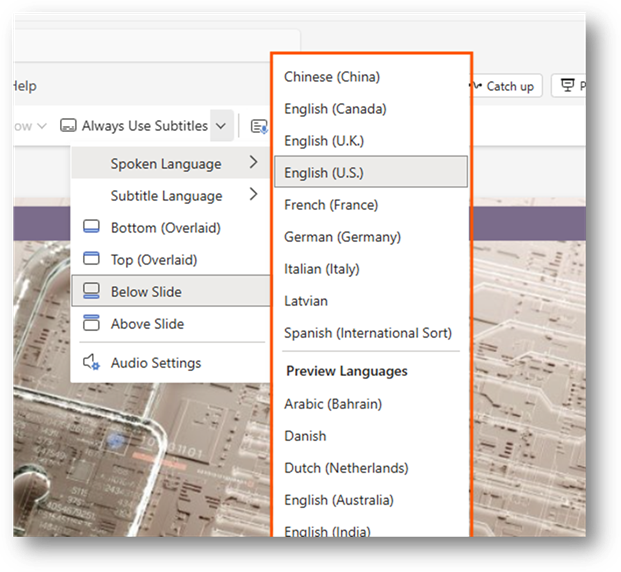
You can click onto a language you are going to be speaking in. This will save to your profile. By default, it will be set to the default language PowerPoint or Microsoft 365 is set to.
The preview languages are being tested. This means that they may not work as expected. If they don’t work, please submit feedback to Microsoft so they are able to work on this.
Changing the language displayed
You can change the language that is displayed in the captions on screen. To do this, please click onto the setting called “Subtitle language”
This will expand a drop-down menu on the right-hand side of the option that will display a list of languages to choose from.
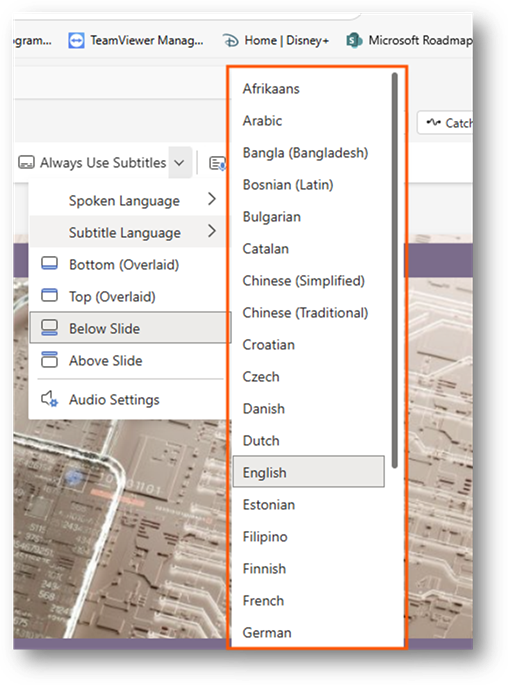
Once you click onto a language, it will save this and close the menu. Each time you open a PowerPoint presentation and present with subtitles. It should remember the language selected.
Position of text
You can set the position of the subtitles when presenting. To do this, please select from one of the options in the setting menu.
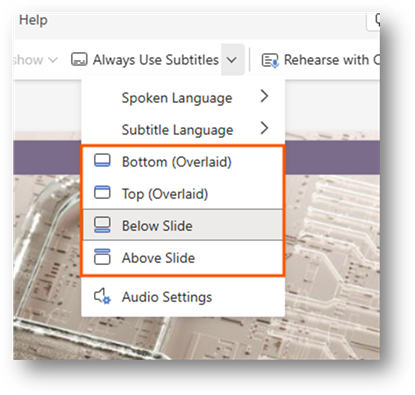
Once you have chosen a location, the menu will close, and the setting will be applied. By default, it will display at the bottom of the presentation.
Audio settings
You can access audio settings where you can choose which microphone to use. To access this setting, please click onto “Audio settings”.
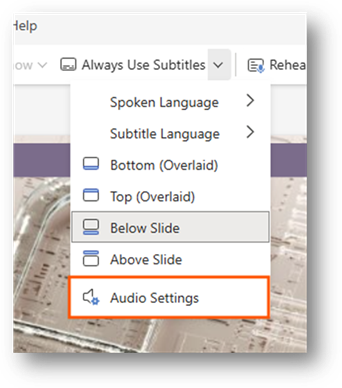
This will open the settings on the right-hand side of your screen in a pane.
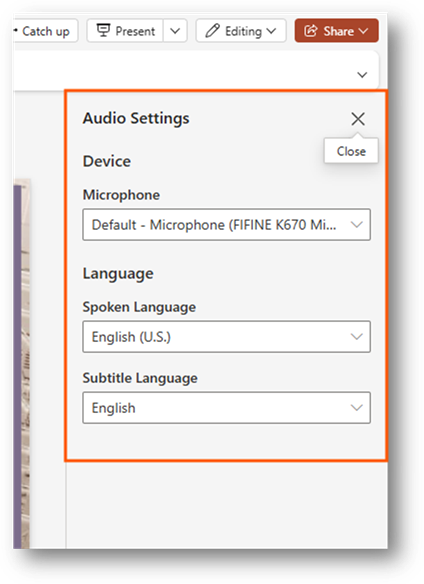
You will be able to choose which microphone you want to use.