
The Immersive Reader is a reader that Microsoft have developed that takes the content from the page and places it inside the reader. It takes out unnecessary content such as adds, website navigational buttons and other content that isn’t included with the article. The user is able to customize the reader to make it easier for them to read the content inside the reader.
The Immersive Reader is built into the Edge browser and can be accessed via the address bar when you navigate to a website. In your address bar, you will notice the Immersive Reader icon (looks like an open book with a speaker showing on the bottom right).
You can open the Immersive Reader by pressing F9 on your keyboard. The Immersive Reader will open the page inside the reader. You will notice that content at the side of the page is removed leaving you with just the text and images that you need for the text.

At the top of the reader, you will notice the reader options which are pinned. These options allow you to customize the reader for a better experience.

Read aloud
This option is the first option on the toolbar with a capital letter A with sound waves coming from the right-hand side of it.

When you click onto this option, the computer will start reading the text to you. It will start from the top and work down. When it starts reading, the toolbar will be hidden and replaced with the read aloud toolbar. The screen will fade showing where the computer is at with reading the text.

You can pause, go back to the previous paragraph, or advance to the next paragraph by using the control options located in the middle of the toolbar.

The play/pause button in the middle tells the computer to read or stop reading. The computer will remember where it is so when you press play, it will continue reading the text from where it stopped.

The icon on the left-hand side of the play/pause button tells the reader to go back to the previous paragraph. If you are in the middle of a paragraph, this will go back to the start of that paragraph.
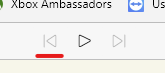
The icon on the right-hand side of the play/pause button tells the reader to advance to the next paragraph.
On the far right-hand side of the toolbar, you will find voice options.
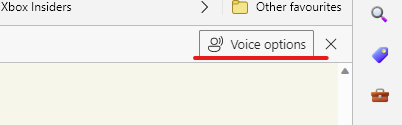
This allows you to control the speed, type of voice that is used. When you click onto it, a drop-down menu will appear.

By default, the voice speed will be set to normal, and the voice will be a woman’s voice. To change the speed, move the slider from left to right. Left slows the speed down and right will make the speed faster.
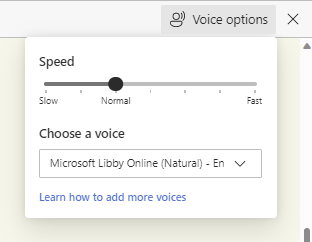
To change the voice, click onto the drop-down menu for a list of different voices from female to male and with different accents.
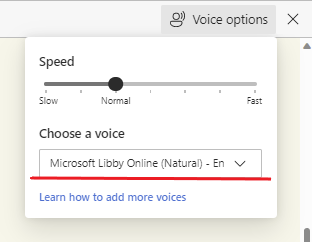
Just click onto the voice you want to use. The computer will then adjust the voice automatically without having to refresh and continue reading the text to you.
Text preferences

The text preferences option allows you to customise the text and the page theme. This allows you to customise the text so you can read it at ease.
Text Size

Your first option is text size. You can move the slider from left to right to make your text smaller or bigger. When you move the slider, you will notice that the text will be changed straight away.
Text spacing

Text spacing allows you to space the text on the page which will make it easier for people that find the text when it is too close together.
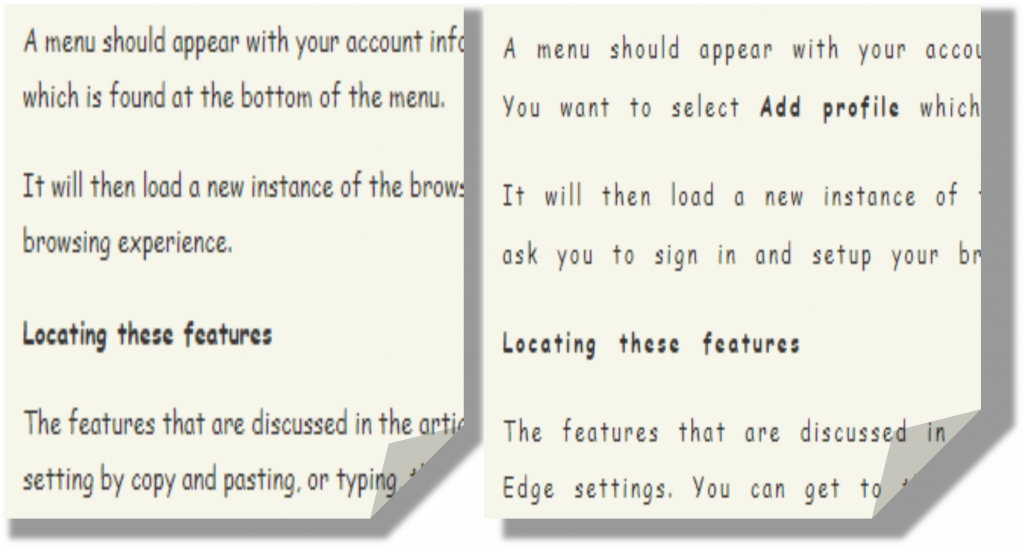
The left-hand side shows the text without line spacing enabled. The image on the right shows the text spacing option enabled. As you can see, the text spaces out making it easier to read.
Font
You can choose between three different fonts for the Immersive Reader. This option is found under text spacing, as seen in this image underneath. These fonts have been tried by different people around the world, so Microsoft know they will work for a wide range of audiences.
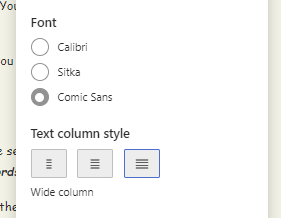
Text column style

This allows you to choose how wide your columns are on the screen. This allows you to make it easier to read the text by making the area where the text is situated smaller, or larger, depending on the user.
Page themes
Page themes allow you to change the page colour which acts like an overlay that has been applied to the page. This option is located under text column style, as seen in the screenshot underneath.

When you choose a page theme, depending on the theme, the text colour will change too. The setting will be applied as soon as you choose a theme. You may need to click onto more themes if you don’t see a theme that suits you listed.
Grammar tools
Grammar tools allow you to customize how grammar is displayed on the screen. You can change settings to show parts of the speech or chose to show syllables.
Syllables
This option allows you to break words into their syllables. This option is the first option in the Grammar tools options, as seen in the screenshot underneath.

When you apply this setting, you will notice the words have been broken into their syllables. This setting is useful for those who are struggling to read the words, or an individual word, and need it broken down into syllables, so they can read it.
Parts of speech
Parts of speech option allows you to highlight Nouns, Verbs, Adjectives, and Adverbs in different colours. This option can be found under the syllables option, as seen in the screenshot underneath.

You can customize the colours, so they are colours you use in school or colours that make it easier for you to read. You can choose which labels are applied to the text using the toggles on the right-hand side.
When you enable each option, the reader will highlight the words without the page been refreshed.
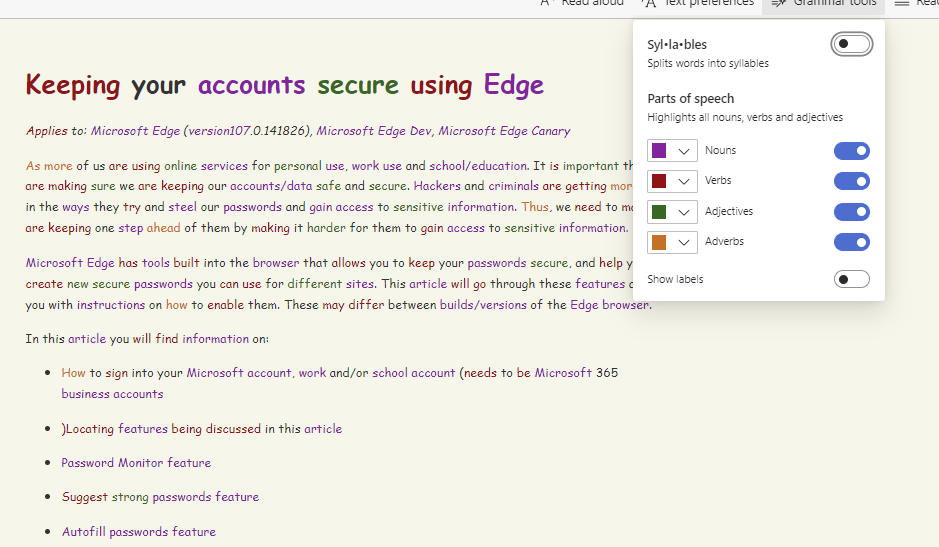
This option is perfect for those who need help identifying Nouns, Verbs, Adjectives and Adverbs. You can choose to show labels which appears above the word. The show labels option is found at the bottom of the menu.

This will change the spacing of the paragraphs and lines to allow the labels to show above each word. The labelling is the same labelling used in schools by educators.
Reading Preferences
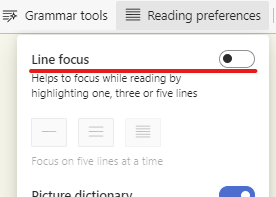
Reading preferences allows you to customize how you read the text in the Immersive Reader and can be found on the right-hand side of the Grammar tools option on the menu.

Line focus
This option allows you to focus on one, three, or five lines while you are reading. This is the first option in the menu.
Once this option is enabled, you will be able to choose how many lines of text are focused at one time.

As soon as you select an option, you will see an overlay been applied that will make the screen go darker apart from the lines which you are reading.

You can move the line focus up or down using your mouse wheel or by using the arrow buttons on the bottom right-hand side of the screen (underlined in red in the image underneath).

Picture dictionary
Picture dictionary allows you to define words in the text using images to help you understand the word. This is the second option in the menu, found under line focus.

When this option is enabled, you will be able to move your mouse curser over words in the text. If there is a definition supported by picture dictionary, you will see a wand appear over the word.

When you click onto the word, a pop-up box will appear with a picture to help show the meaning of the word.
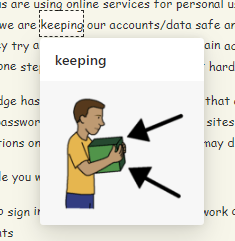
Sometimes there may be more then one picture to help show the meaning of the word. This is ideal for people who are struggling to see what words mean and may benefit from a picture to help them understand the meaning.
Translate
This option is ideal for those who don’t speak the language the page is written in and needs it translating to their language so they can understand it. The translate feature is found under the picture dictionary option and will translate the entire page.
You will need to select a language from the dropdown menu under translate.
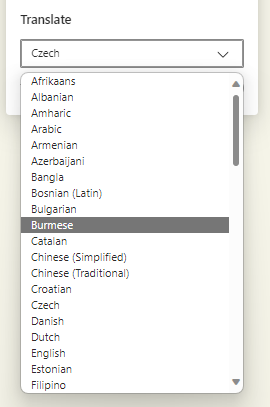
Once you have selected a language, you will need to enable the translate entire page option, found at the bottom.
This will translate the page to the chosen language. If you are using the picture dictionary, this may not work in all languages.